- How to Partition a Hard Drive on Windows 10
- How to Partition a Hard Drive using EaseUS
- Partitioning a Hard Drive on Mac
- How to Partition with Stellar Partition Manager
- How to Recover Lost Data from Partition Hard Drive
Have you partitioned your computers hard drive? If not, they you could be inviting trouble to your life. The answer could be No, since you do not know how to format or the knowing its importance. Partitioning hard drive does not only assist in managing of files but also prevents loss of files when the drive is damaged. In this article you will learn how to partition your hard drive on windows and Mac using different methods.
Part 1How to Partition a Hard Drive on Windows 10
Below is a guide on how to partition a hard drive on Windows 10.
Method 1. Using Computer management tool to partition
Step 1: After you have opened your computer, click on File Explorer button then right click This PC icon.
Step 2: From a small menu box that appears, click on manage.

Step 3: On clicking manage, another window pops up, from there click Computer Management then below it click storage button to get disk management.

Step 4: From Disk management, click on letter C, then Shrink volume. Double click on Drive C to shrink it.
Step 5: At the bottom of the new window, click on unallocated area that you would like to create partitions. Click on New Simple Volume from the small menu box that shows up.

Step 6: From the New Simple Volume Wizard window that appears, just specify or give appropriate size of the volume that you want to assign the partition.
Then click on Next button at the bottom of the window.

Step 7: From Assign Drive Letter or Path window, assign a letter you would like to use for access. Then click on Next button.

Step 8: Here you give format partition specifications, select the file system, volume label, and size. Thereafter click on Next button.

Step 9: Completing the New Simple Volume Wizard window appears displaying the partition specifications. Click on Finish button at the bottom of the window and the partition will have been created successfully.

Part 2How to Partition a Hard Drive using EaseUS Partition Master Free Software
Where you may not want to partition your hard drive using disk management, you may use EaseUS Partition Master Free software to partition freely and easily.
Partitioning hard drive with this software only require simple few clicks. Here is how to do it.
Step 1: Run EaseUS Partition Master Software on your computer.
Step 2: After you have opened the program, select any drive like drive E and shrink it using "Resize/Move Partition.

Step 3: Thereafter, let the unallocated space be behind drive C by dragging drive E towards the right side of the program window.
Step 4: Select drive C and enlarge its space with resize/move partition

Step 5: finally click Apply and the hard drive partition will be complete.

Part 3Partitioning a Hard Drive on Mac using Computer Management Tool
It is always a good move to partition hard drive on your Mac computer to enable you organize your data with ease. It also promotes proper management of your data.
Here is a procedure on how you can partition your hard drive with computer management tool. All you require is a Disk Utility feature.
Step 1: After you have logged in to your computer, get to Finder then click on Applications. From applications, get to utilities then click on Disk utility icon.

Step 2: In the new window, click on your hard drive which will be highlighted blue on the top left side.

Step 3: click on partition button that will appear in the middle of the window.

Step 4: The next window that pops up gives the partition layout. Here you only give the name and number of partitions you would want and the volume size. After providing this information, you can then click on Apply button at the bottom of the window.

Step 5: The following window displays the partitions you have chosen. A confirming message pops up and after you have confirmed on the partitions, click on partition.

You may want to partition your Mac's hard drive to enable you run multiple versions of similar operating system from one disk. Where you may not want to perform your hard drive partition on Mac using computer management tool, you can still partition it using any free software. In this article it shows how to partition hard drive using Stellar Partition Manager
All you need to do is to download the software freely then follow the steps on how to partition.
Part 4How to Partition with Stellar Partition Manager
Step 1: First Run Stellar partition manager software on your Mac computer then click on continue button at the bottom right of the window.
Step 2: Select a hard drive in which a new partition is to be created. Choose from the left pane.

Step 3: Click on Add button in the tool bar and a small dialog box pops up where you give the name of the partition you want to create and move the slider to give the size of the partition.
Step 4: After giving the name and size, now click on OK button.

Step 5: In the next window that appears, the new partition will be added to the task to do list. Click on Start button in the tool bar to begin partitioning.

Step 6: A warning message is displayed on a message box. Confirm that the partition selected has sufficient back-up protection for your important data. After you are sure about it then click on continue to add the new partition.
Step 7: On completion, a window appears which shows the new partition in the middle pane along with other partitions. Finally, the program will indicate it that the partitioning process is completed. From there you can now mange your files on the created partitions.

With above guide, one cannot miss how to partition a hard drive at any given point. You can either use computer management tool or partition software.
Part 5How to Recover Lost Data from Partition Hard Drive
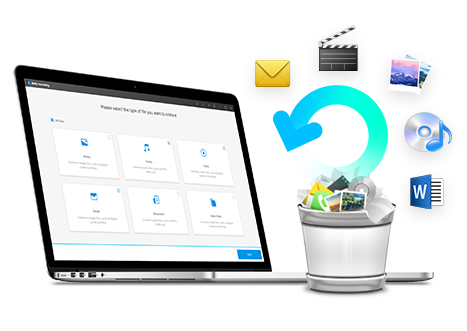
When you partition a hard drive always comes along with data lost from your partition hard drive, under this circumstance, you will need a partition hard drive data recovery software to help you retrieve you lost data back.

- Recover lost or deleted files, photos, audio, music, emails from any storage device effectively, safely and completely.
- Supports data recovery from recycle bin, hard drive, memory card, flash drive, digital camera and camcorders.
- Supports to recover data for sudden deletion, formatting, hard drive corruption, virus attack, system crash under different situations.
- Preview before recovery allows you to make a selective recovery.
- Supported OS: Windows 10/8/7/XP/Vista, Mac OS X (Mac OS X 10.6, 10.7 and 10.8, 10.9, 10.10 Yosemite, 10.10, 10.11 El Capitan, 10.12 Sierra) on iMac, MacBook, Mac Pro etc.
Wondershare Data Recovery is capable of restoring deleted/lost files or formatted partition from hard drive (HDD and SSD), external hard drive, usb flash drive, memory card, digital camera, camcorder, iPod, Music Player and many kinds of mobile devices (Nokia, Blackberry phones and Phones with older Android OS than ICS). While offering the advanced recovery modes like Raw Recovery or Deep Scan Mode, it`s pretty easy to use:
Simple steps to Recover Lost Data from Hard Drive
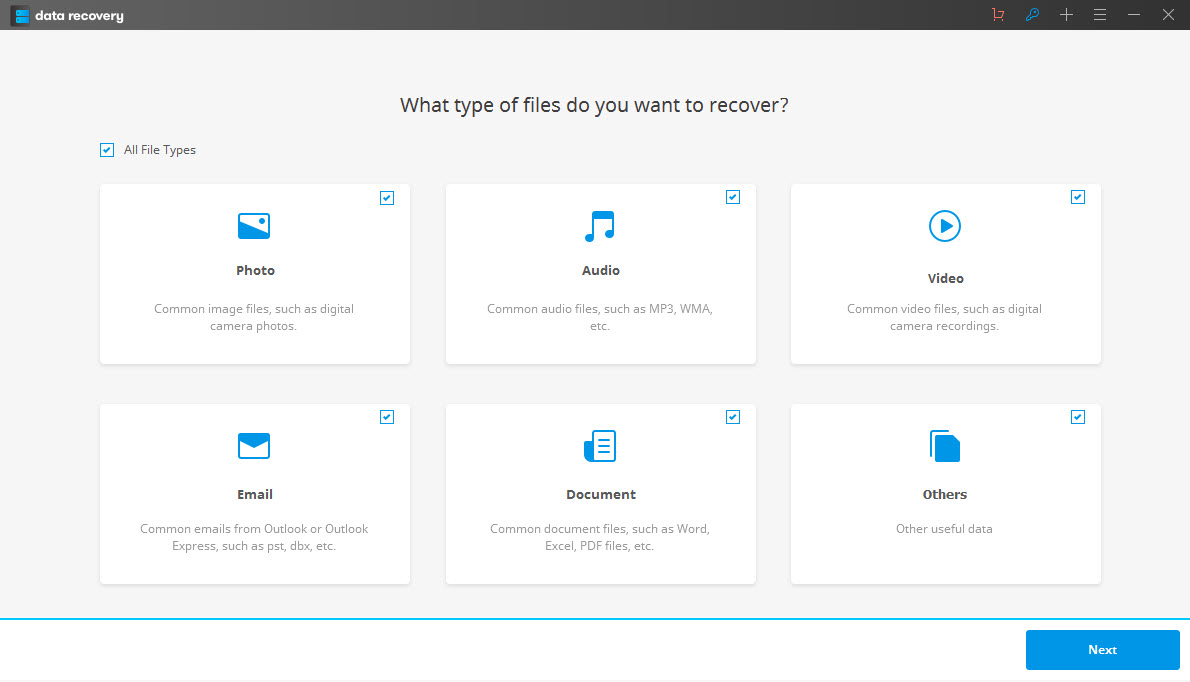
Step 1: Select the type of files you want recover and click "Start" to recover lost data from hard drive.

Step 2: Select the location where you lost your data. If you are not sure where the location, you can go to select the option "I can't find my partition" to start scanning lost data.

Step 3: Select a partition to scan files.

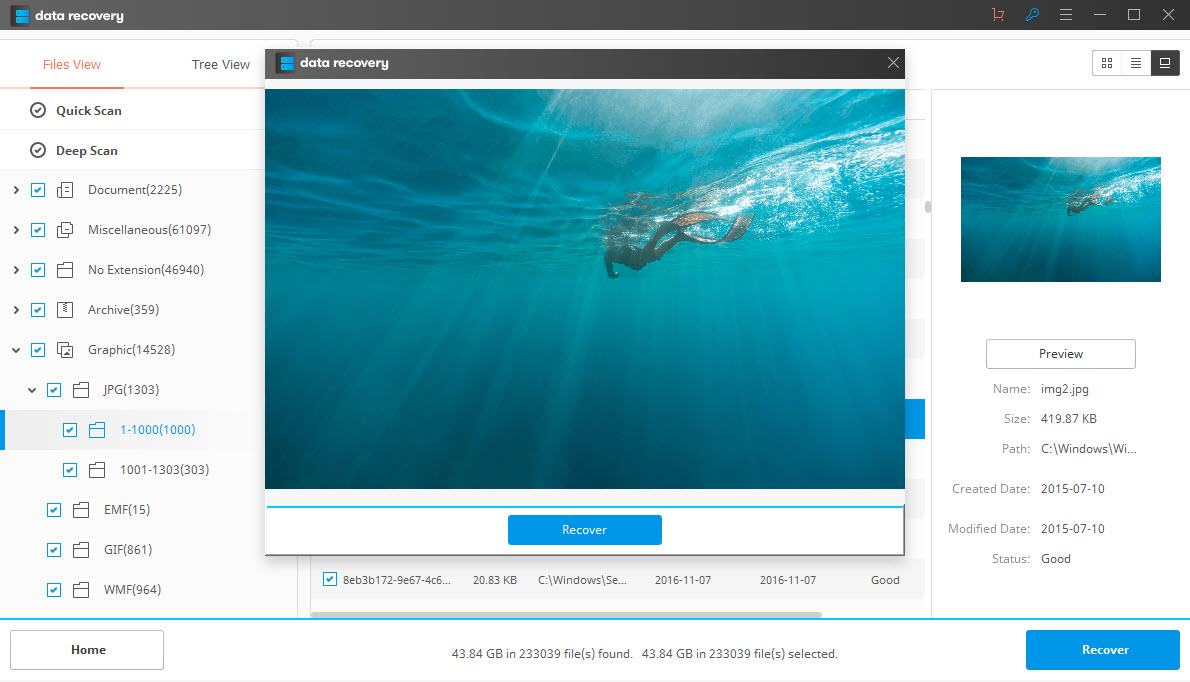
If quick scan can't get your lost data, you can go to deep scan which will deeply search your lost data.
Step 4: Preview the lost data from partition hard drive

Note: Please do not save these recoved files to the partition hard drive which you recovering, it will overwritten.
हार्ड ड्राइभ
- समाधान हार्ड ड्राइभ समस्याहरू -
-
- हार्ड ड्राइभ विफलता समाधान
- DIY समाधान हार्ड ड्राइभ
- हार्ड ड्राइभ हटाउन
- क्लोन हार्ड ड्राइभ
- हार्ड डिस्क मर्मत
- हार्ड ड्राइभ दुर्घटना सामना
- अपग्रेड / बदल्नुहोस् ल्याप्टप हार्ड ड्राइभ दुर्घटना
- अपग्रेड / बदल्नुहोस् PS3 हार्ड ड्राइभ दुर्घटना
- अपग्रेड / बदल्नुहोस् PS4 हार्ड ड्राइभ दुर्घटना
- ढाँचा हार्ड ड्राइभ
- जगेडा बाह्य हार्ड ड्राइभ
- ठीक "बाह्य हार्ड ड्राइभ मान्यता प्राप्त छैन"
- मर्मत बाह्य हार्ड ड्राइभ
- हार्ड ड्राइभ विभाजन
- Mac मा ढाँचा बाह्य हार्ड ड्राइभ
- हार्ड ड्राइभ पुन: +
- टिप्ने र हार्ड ड्राइभ प्रयोग गर्दै +
-
- युएसबी हार्ड ड्राइभ
- Terabyte बाह्य हार्ड ड्राइभ
- परीक्षण हार्ड ड्राइभ गति
- Toshiba बाह्य हार्ड ड्राइभ
- Xbox 360 हार्ड ड्राइभ
- ठोस राज्य हार्ड ड्राइभ
- म्याकको लागि सर्वश्रेष्ठ बाह्य हार्ड ड्राइभ
- SATA हार्ड ड्राइभ
- सर्वश्रेष्ठ बाह्य हार्ड ड्राइभ
- सबै भन्दा ठूलो हार्ड ड्राइभ
- हार्ड ड्राइभ प्रयोग गरेर
- सस्तो बाह्य हार्ड ड्राइभ


